
How to Create a Website using Wix in 1 Hour (or less)

Creating a website from scratch can seem complicated, but it can be easy with the right tools and resources. One popular website builder for businesses is Wix. This blog will show you how to create a website using Wix in 1 hour or less.
1. Sign up for a Free Wix Account

The first step is to sign up for a free Wix account. Click the "Get Started" button on the Wix homepage.
2. Pick the Type of Website you Want to Create

The second step is to pick the type of website you want to create. In this example, I want to make a website for an Online Art Store.
3. Pick a Template
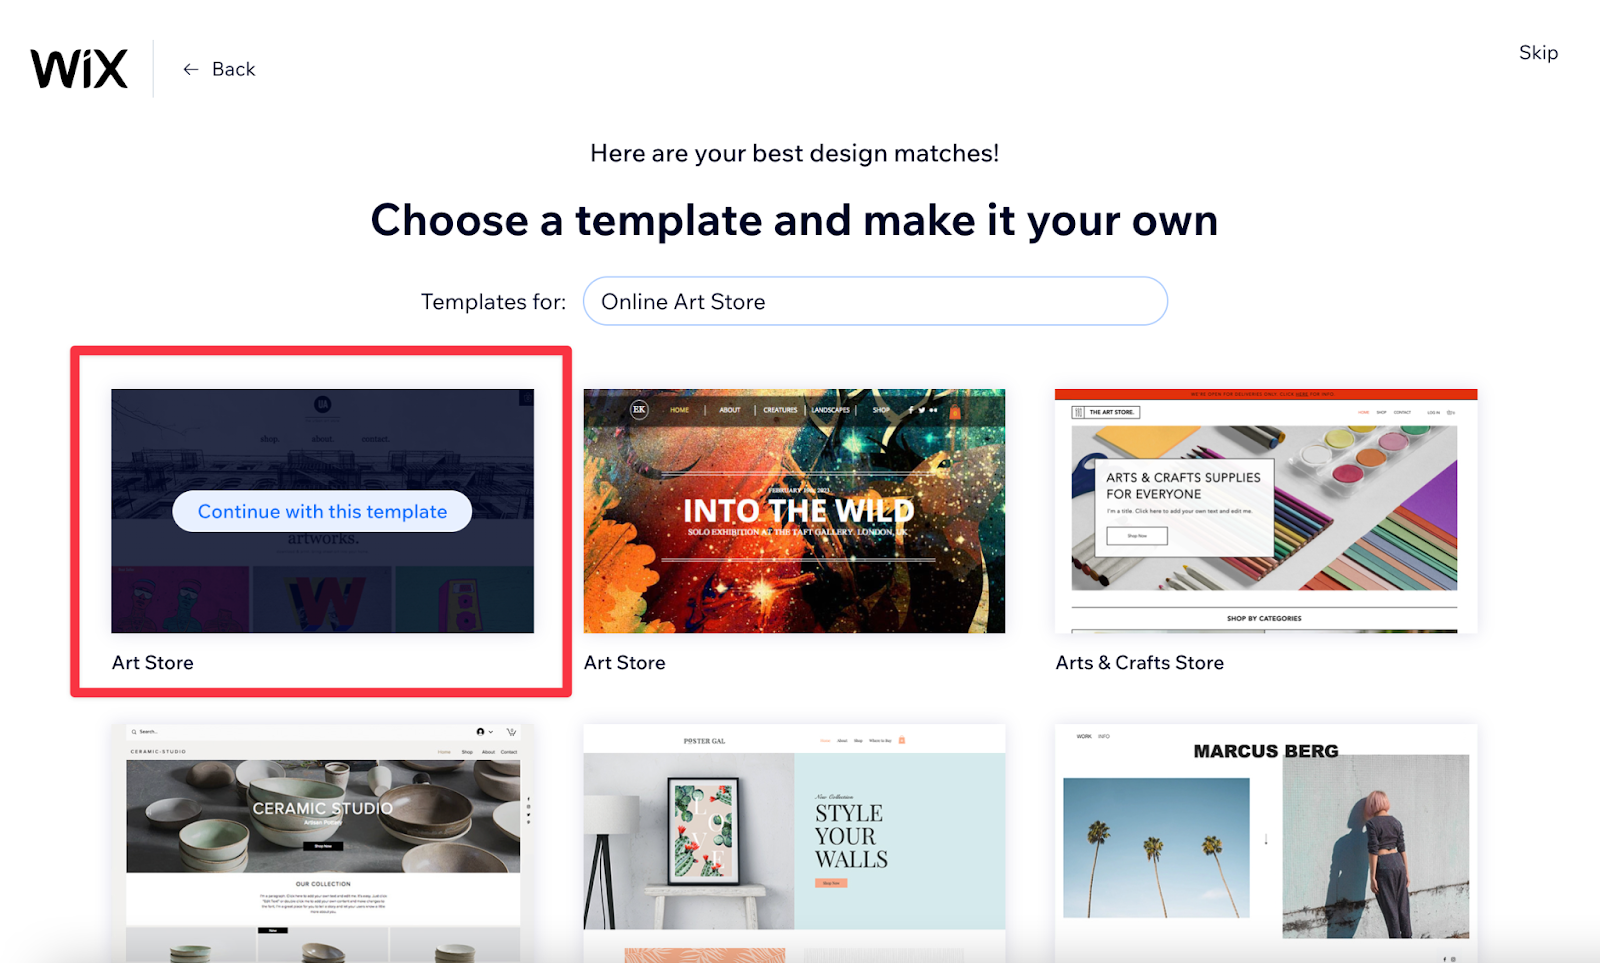
The next step is to pick a template. Hovering over your desired template will prompt you to "Continue with this template."
4. Pick a Color and Text Theme
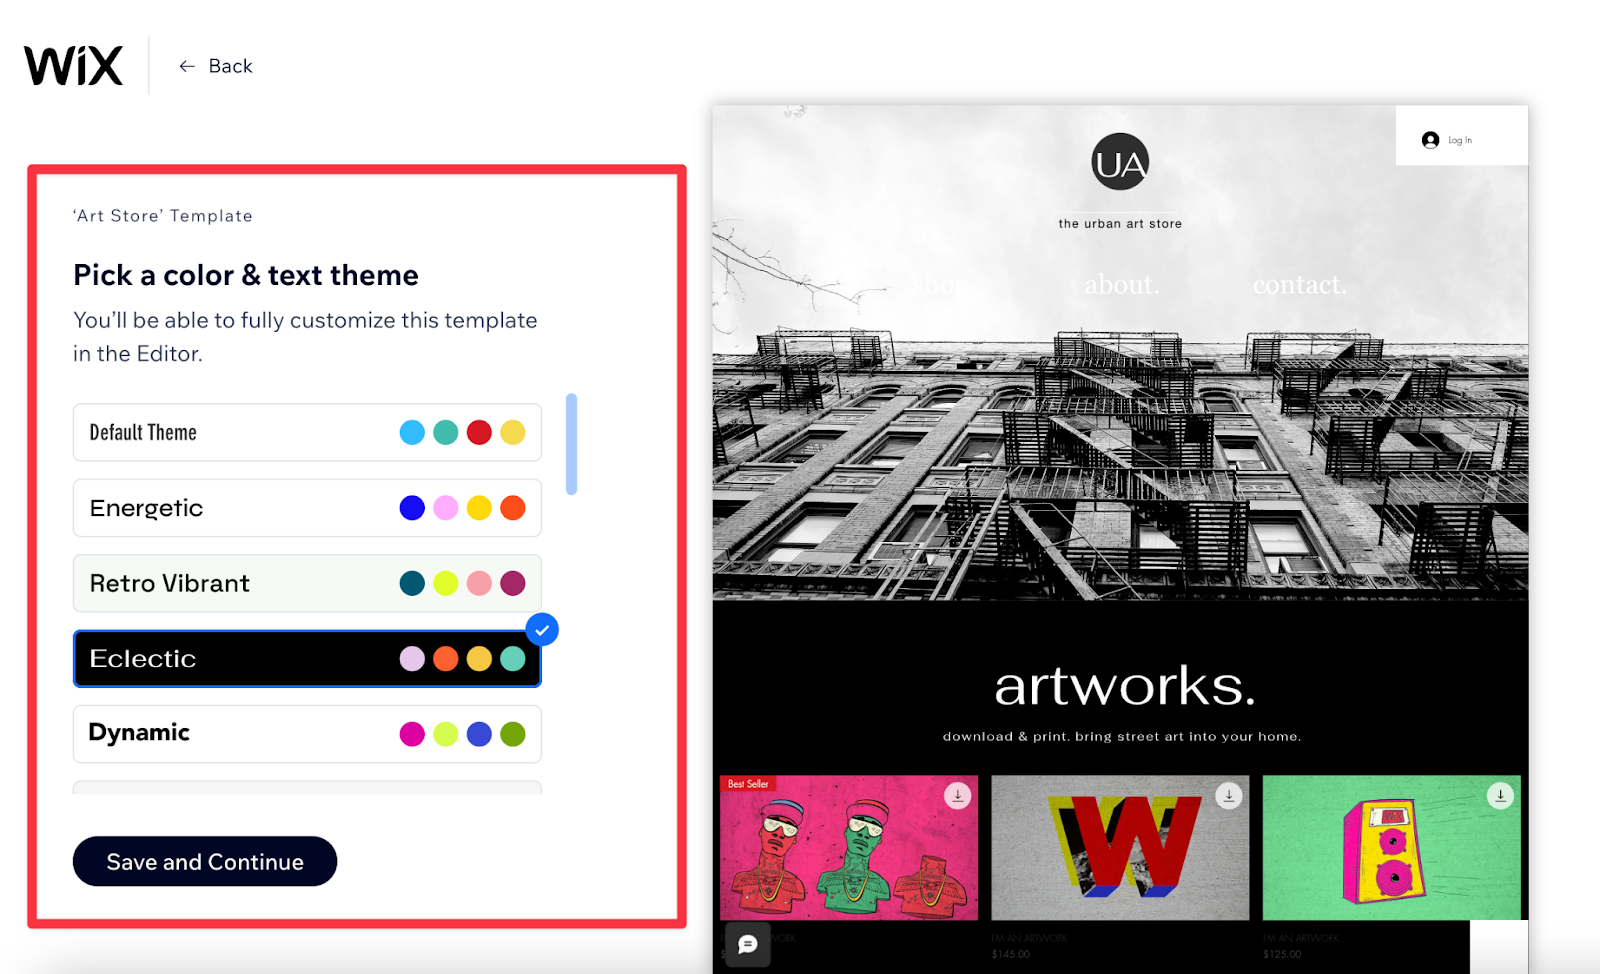
The next step is to pick a color and text theme.
5. Add Apps to your Website
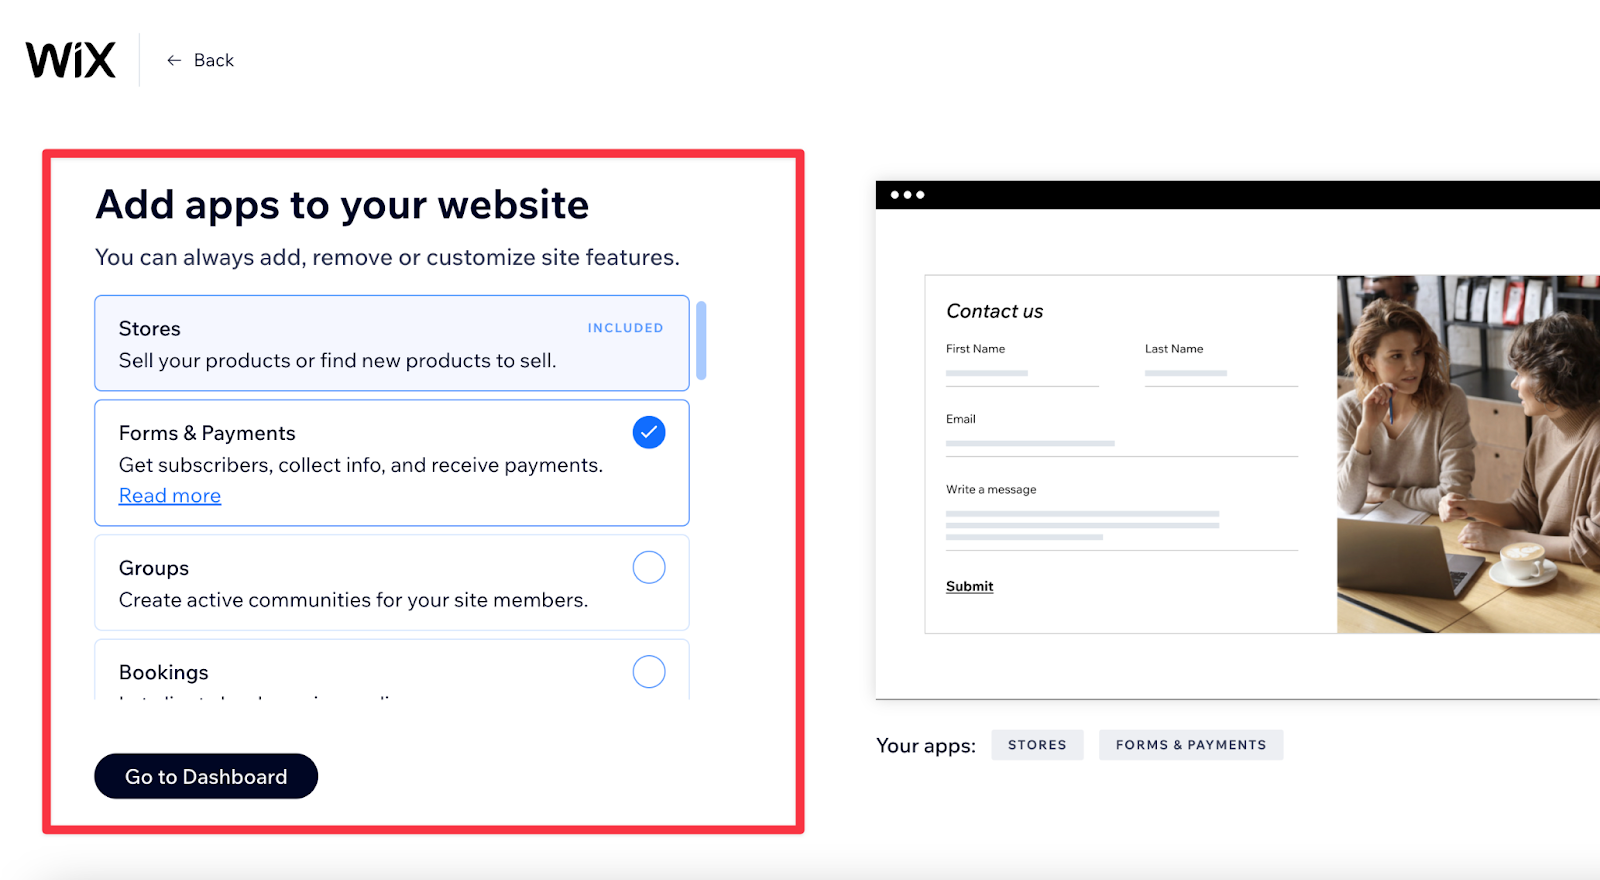
The next step is to customize your website with all the features you need for your business. For example, you can add forms and payments, a blog, a pricing plan, an Instagram Feed, and more.
6. Edit your Website
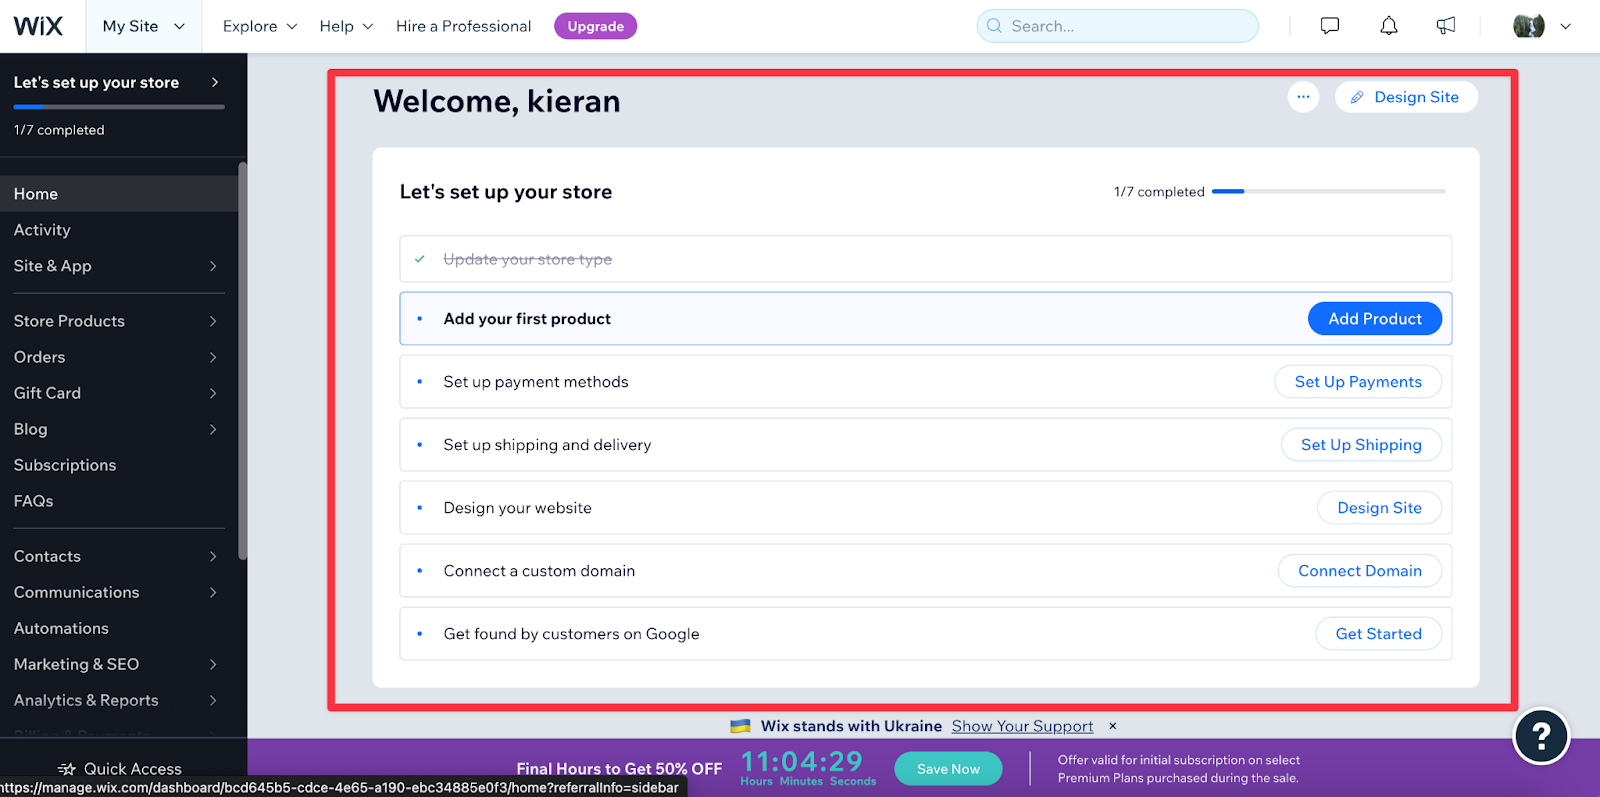
The next step is to edit your website by following the steps in the home dashboard.
7. Buy your Domain
I recommend using Google Domains or GoDaddy to purchase your domain name. You can read this article for more information on considerations to make when selecting your domain name.

In this example, I used Google Domains to purchase my domain name. I can see that I found an exact match for the domain name I was looking for, it's $12/year, and I can purchase it by clicking on the cart icon button to the right.
8. Connect your Domain
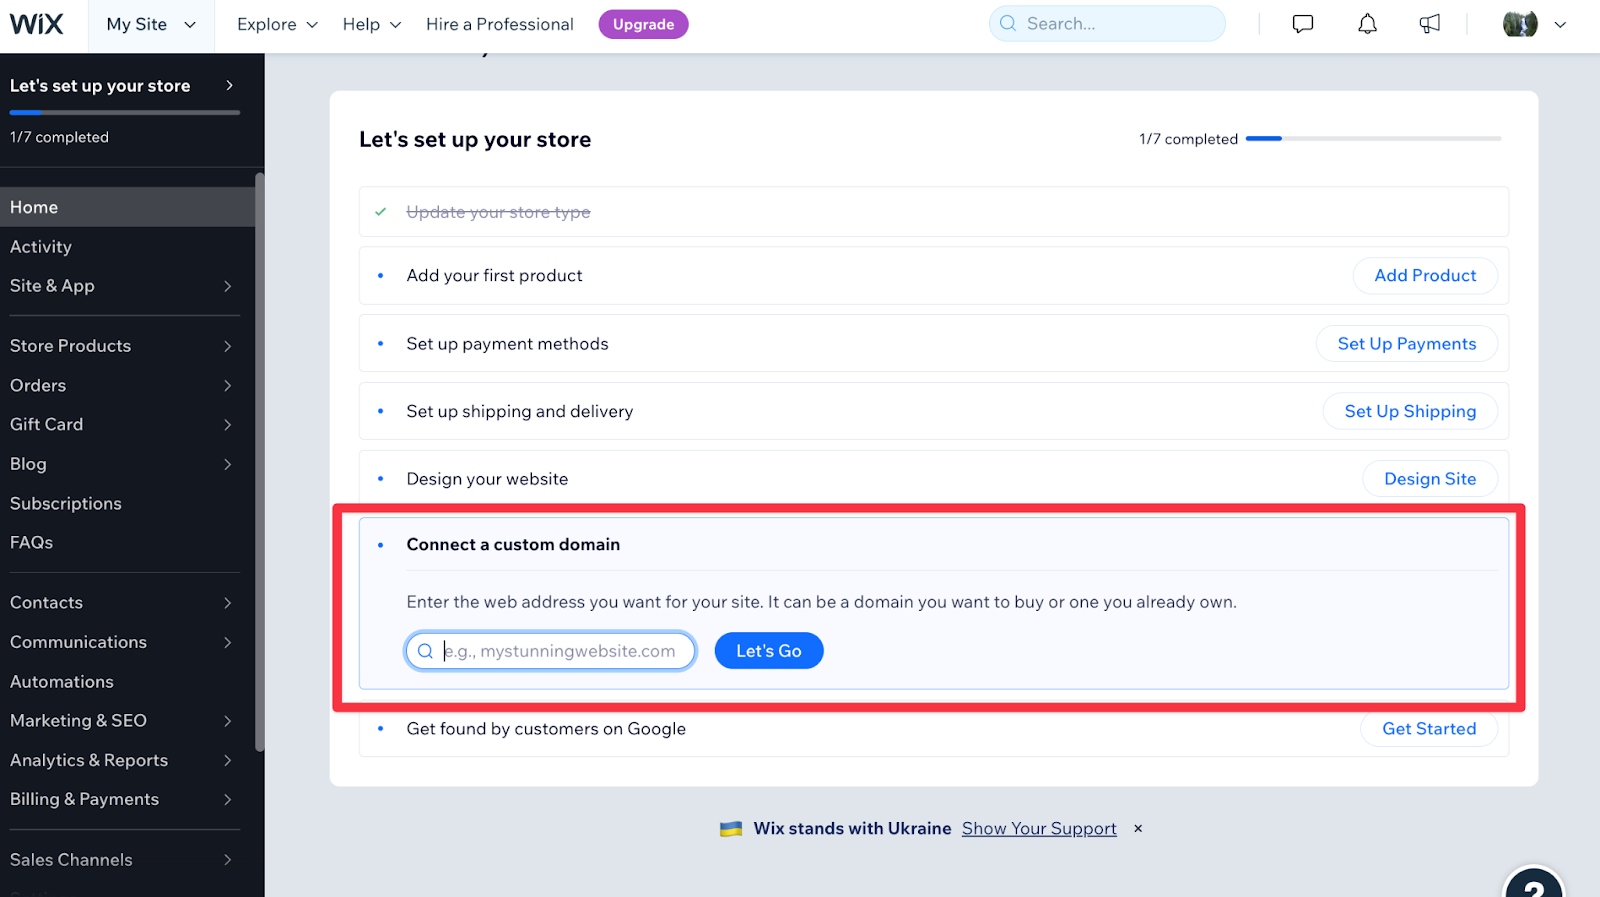
The last step is to connect your domain to Wix. Congrats, your website is live on the Internet!


